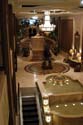
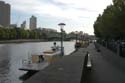
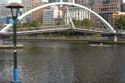
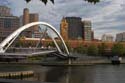
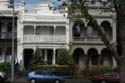
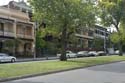
Melbourne, Australia
Page 1 of 2 Next
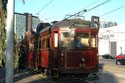
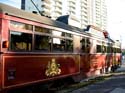
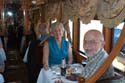
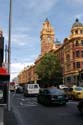
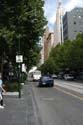
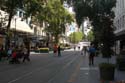
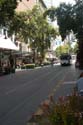
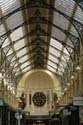
Click on a thumbnail below to view the picture or click on one of the menus/sub-menus above.
01_D04_Mlbn_05 02_D04_Mlbn_07 03_D04_Mlbn_09 04_D04_Mlbn_08 05_D03_Mlbn_04
06_Tom_IMG_2423 07_D03_Mlbn_02 08_D04_Mlbn_37 09_D04_Mlbn_43 10_D04_Mlbn_41
11_D04_Mlbn_38 12_D04_Mlbn_42 13_D04_Mlbn_46 14_D04_Mlbn_48 15_D04_Mlbn_54